“To change the battery in the Miller Welding Helmet, you simply need to remove the lens from the welding helmet. After removing the lens, you will see two openings from the top of the lens casing. Pull these battery cell sockets out to let them come out. Then, get these old cells out of the battery cell socket and change them with the new Panasonic CR 2450 battery cells. After changing the cell, push these battery pockets back into the lens fitting. This is how you can change the battery in the Miller Welding “
This is general overview of how to change the battery in Miller welding helmet. I hope it is enough to help you. But do not worry I am going to discuss all the procedures in detail so that you can understand this well and do it very easily.
Changing the Battery in the Miller Welding Helmet
Follow the four simple steps below to change the battery in your Miller Welding Helmet. You can watch the video too to understand this by clicking on the YouTube video link below
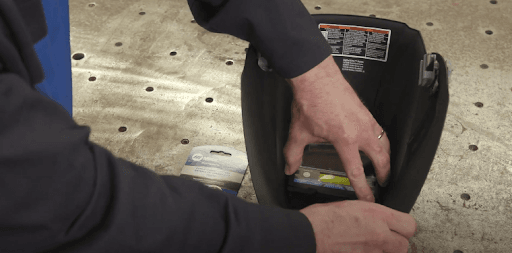
Step 1. Remove the auto-darkening lens
In a very first step, you need to remove the welding lens from your Miller or any other welding helmet. You can remove this easily by pulling out the lens from the welding helmet. Simply pull out the welding lens from the front side casing of the helmet.
 " alt="" class="wp-image-2787"/>
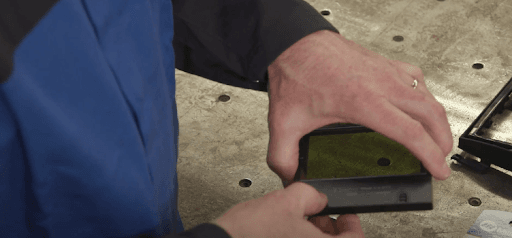
Step 2. Opening Of battery sockets from the lens
Then you will see a two markings moving toward the inward of the lens casing at the top of the lens casings. There will be a place to put your two fingers there to pull the sockets out. Simply catch the battery sockets firmly with your two fingers and then pull out. In this way you can remove the battery sockets out of the lens.
 " alt="" class="wp-image-2788"/>
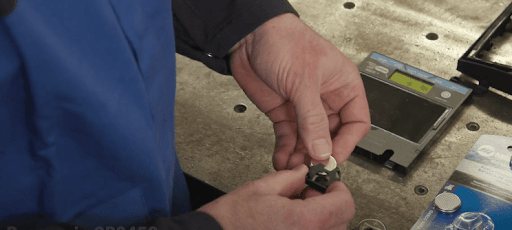
Step 3. Changing of the battery cells
After removing the battery cell sockets from the lens, you remove the old battery cells by pushing them out of the open side of the battery bed socket. Remove them and then add new Cr 2450 battery cells and push them back into the battery pocket.
 " alt="" class="wp-image-2791"/>
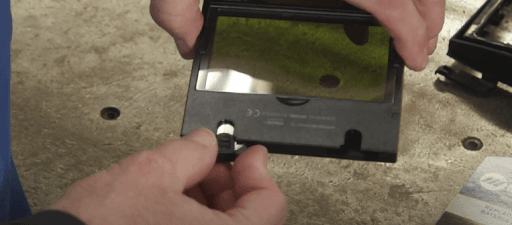
Step 4. Inserting the battery pockets back into the lens
Then, simply add these battery sockets back into the lens opening from where you have removed them. Make sure to insert them in the same direction up and down as you removed them.
 " alt="" class="wp-image-2792"/>
After changing the battery, you can put your auto-darkening welding lens back into the welding helmet to start your work. This is very simple. You can try it now.
For more detail, you can watch this video too:
Why do I need to change the battery of my welding helmet?
If you do not change the battery cell into the welding helmet lens, the auto-darkening feature of the lens will not work because that process is digital and needs current to perform its operation.
After how many times do I change the battery of the welding lens?
You simply change its battery after you find that the darkening effect of the lens is less than the before. It is a sign that you change its battery cells now.